
Create an AI Fellow
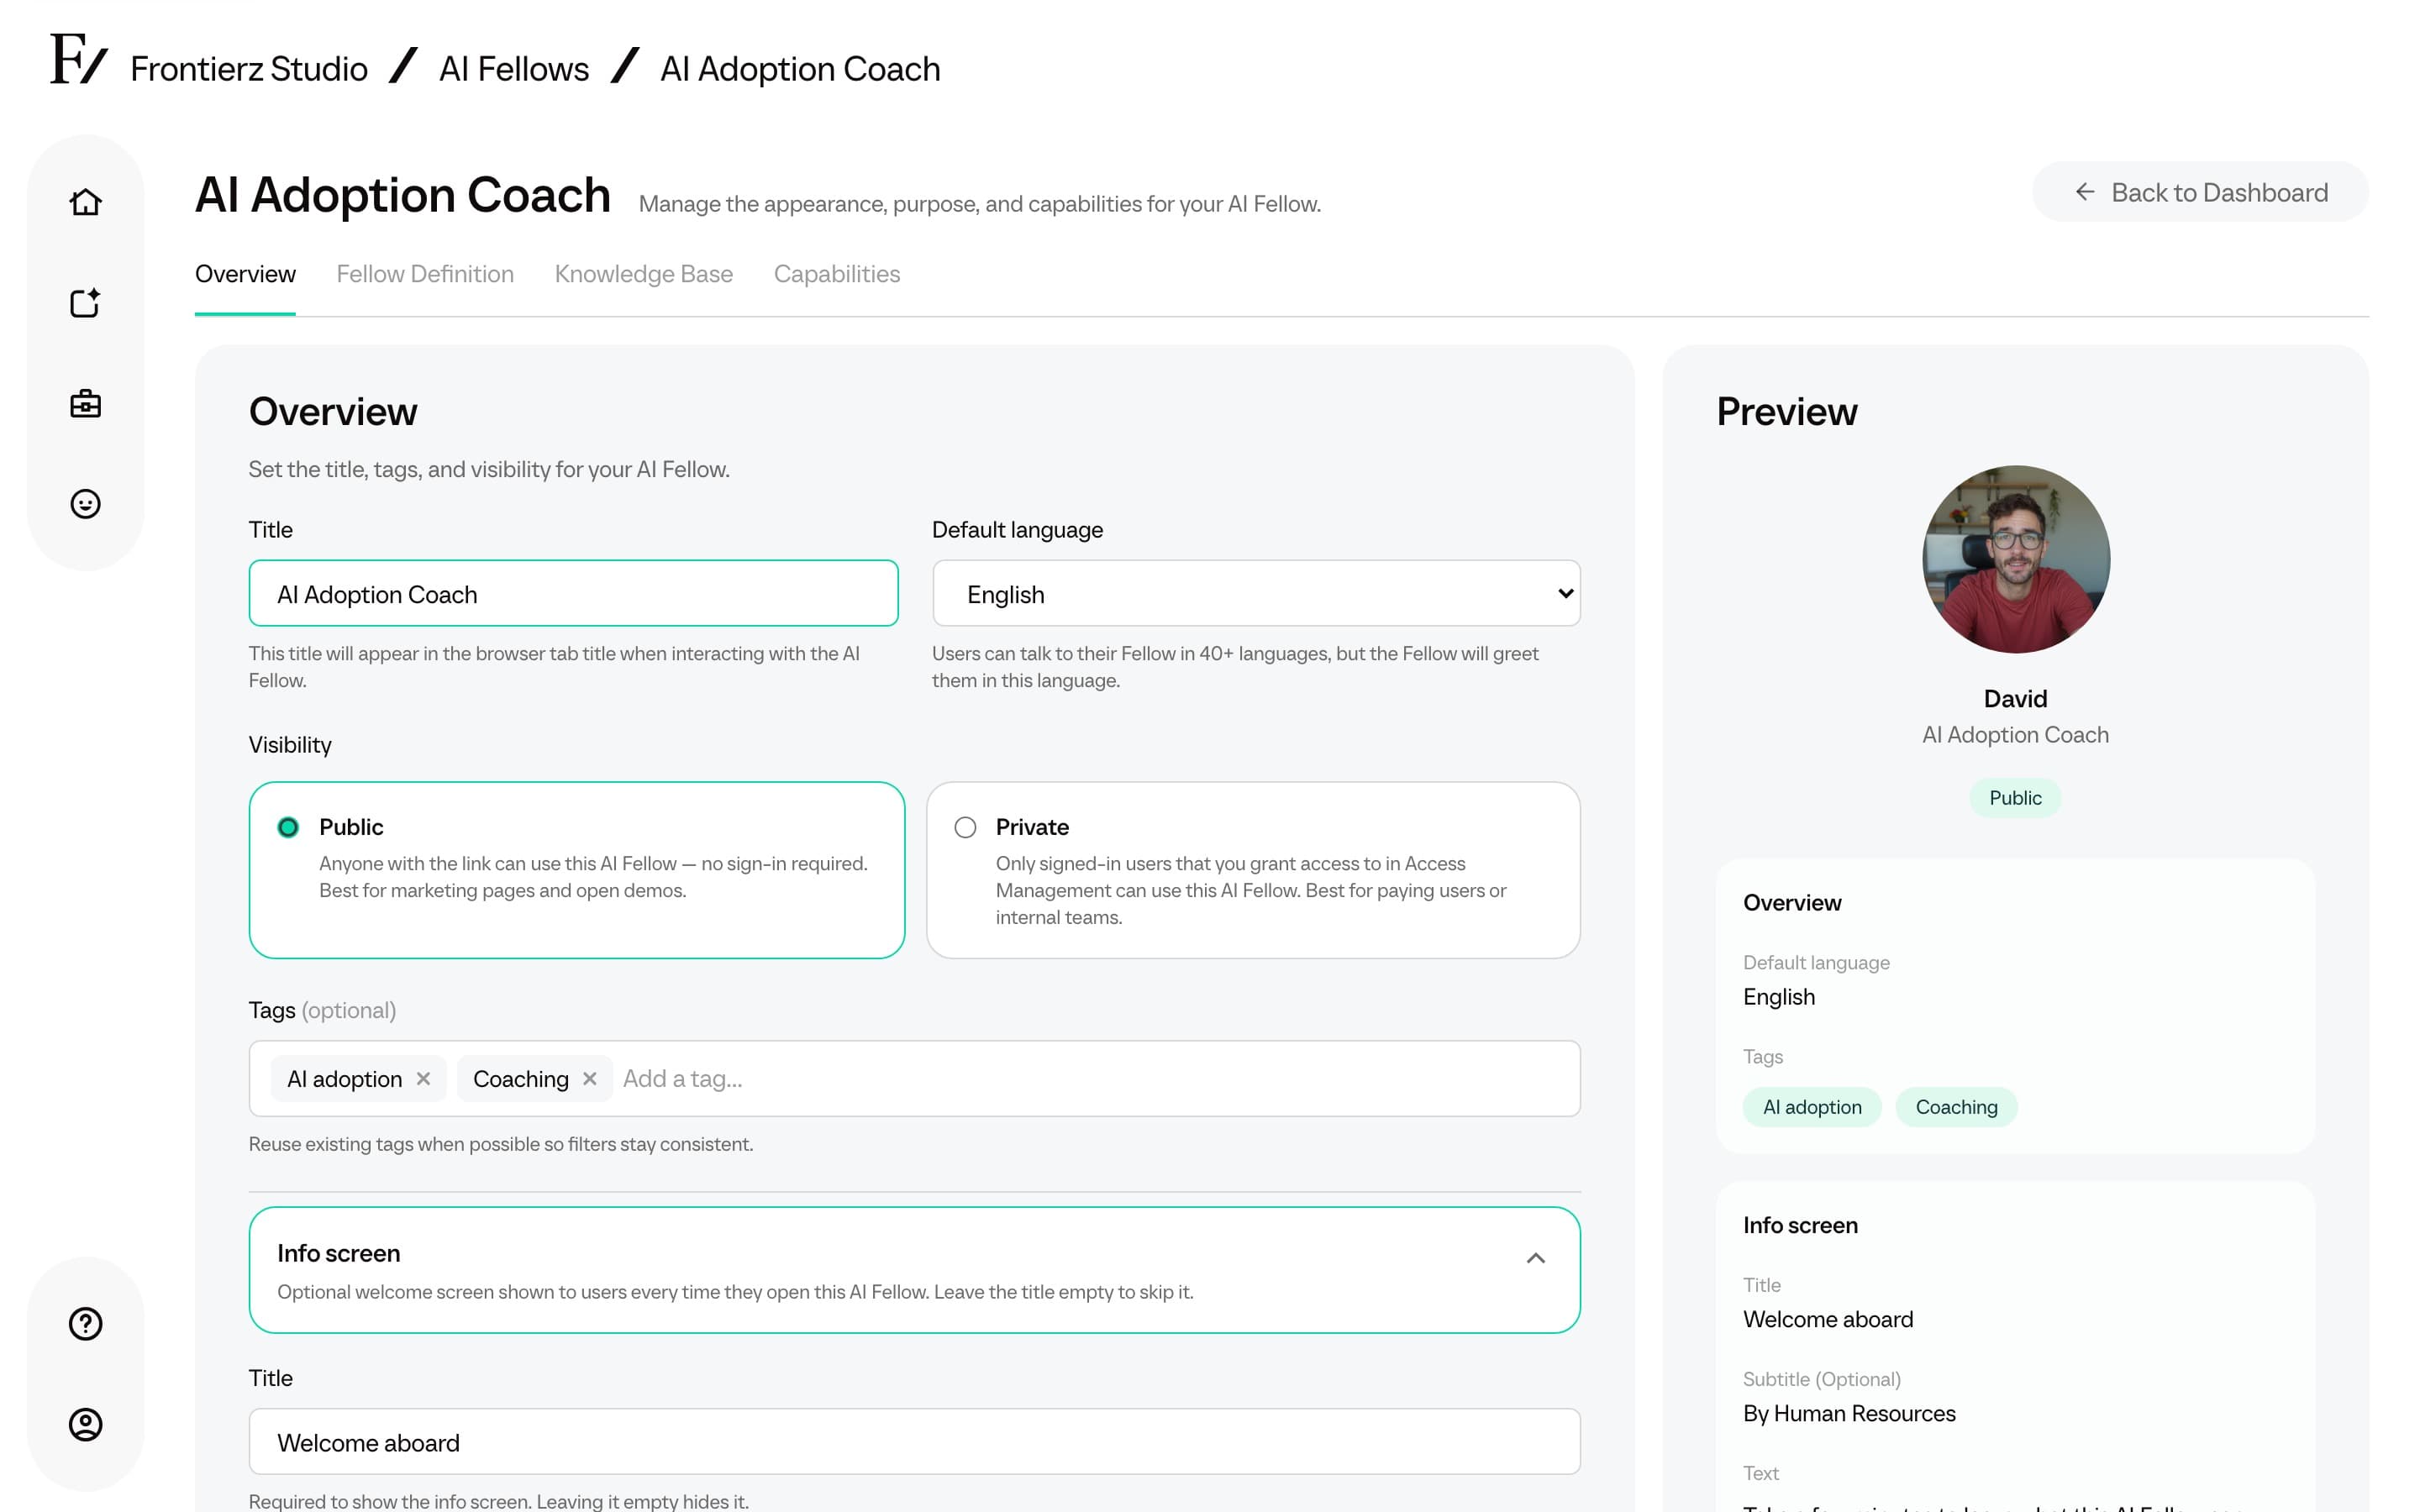
Frontierz Studio guides Admin users through AI Fellow creation in four steps. The steps match the edit tabs. Create uses a step bar and Continue. The last step uses Save. The AI Fellow is saved the first time you leave Fellow Definition, so Knowledge Base uploads run against a saved record. A Preview column on the right follows the current values. On create, Preview appears after you leave Overview. On edit, click a field in Preview to jump to that section in the editor.
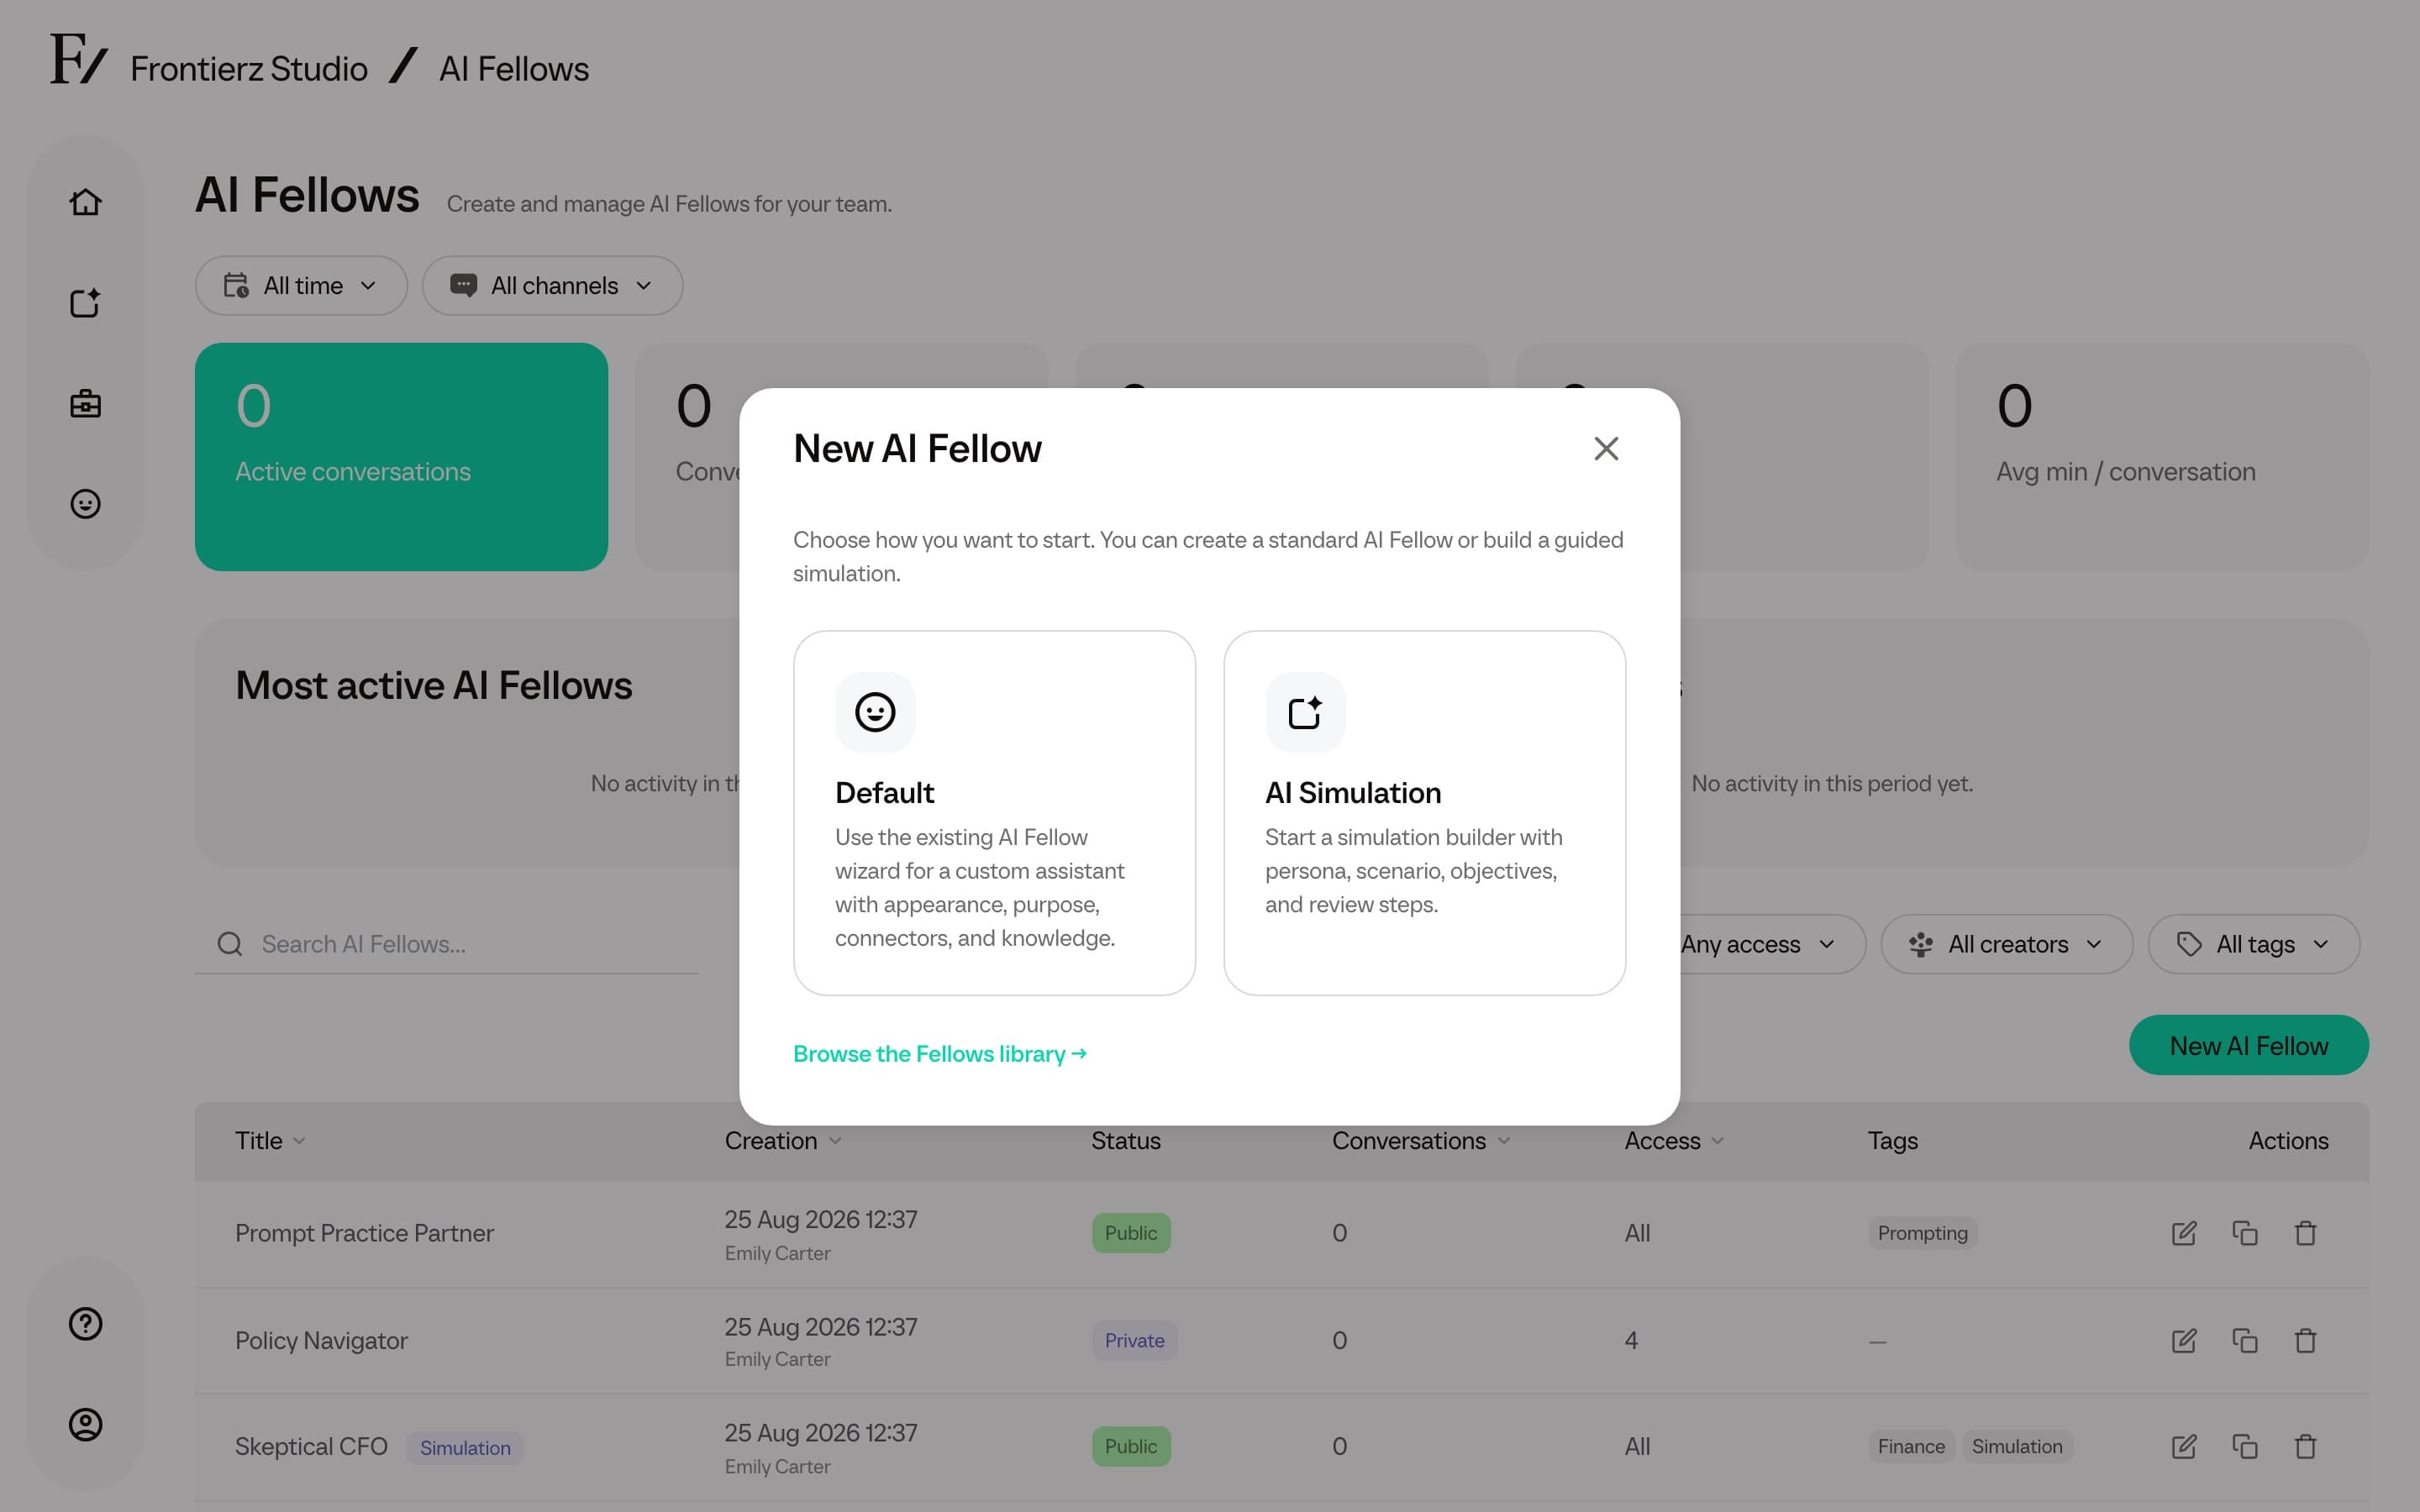
Clicking New AI Fellow first opens a choice:
| Option | Use it for |
|---|---|
| Default | A standard AI Fellow for coaching, support, reference, public links, or general guided conversations. |
| AI Simulation | A role-play AI Fellow created from a persona, scenario, and assessment criteria. See AI Simulations. |
The four-step flow below applies to the Default option. The same modal also has Browse the Fellows library, which opens the Fellows library.
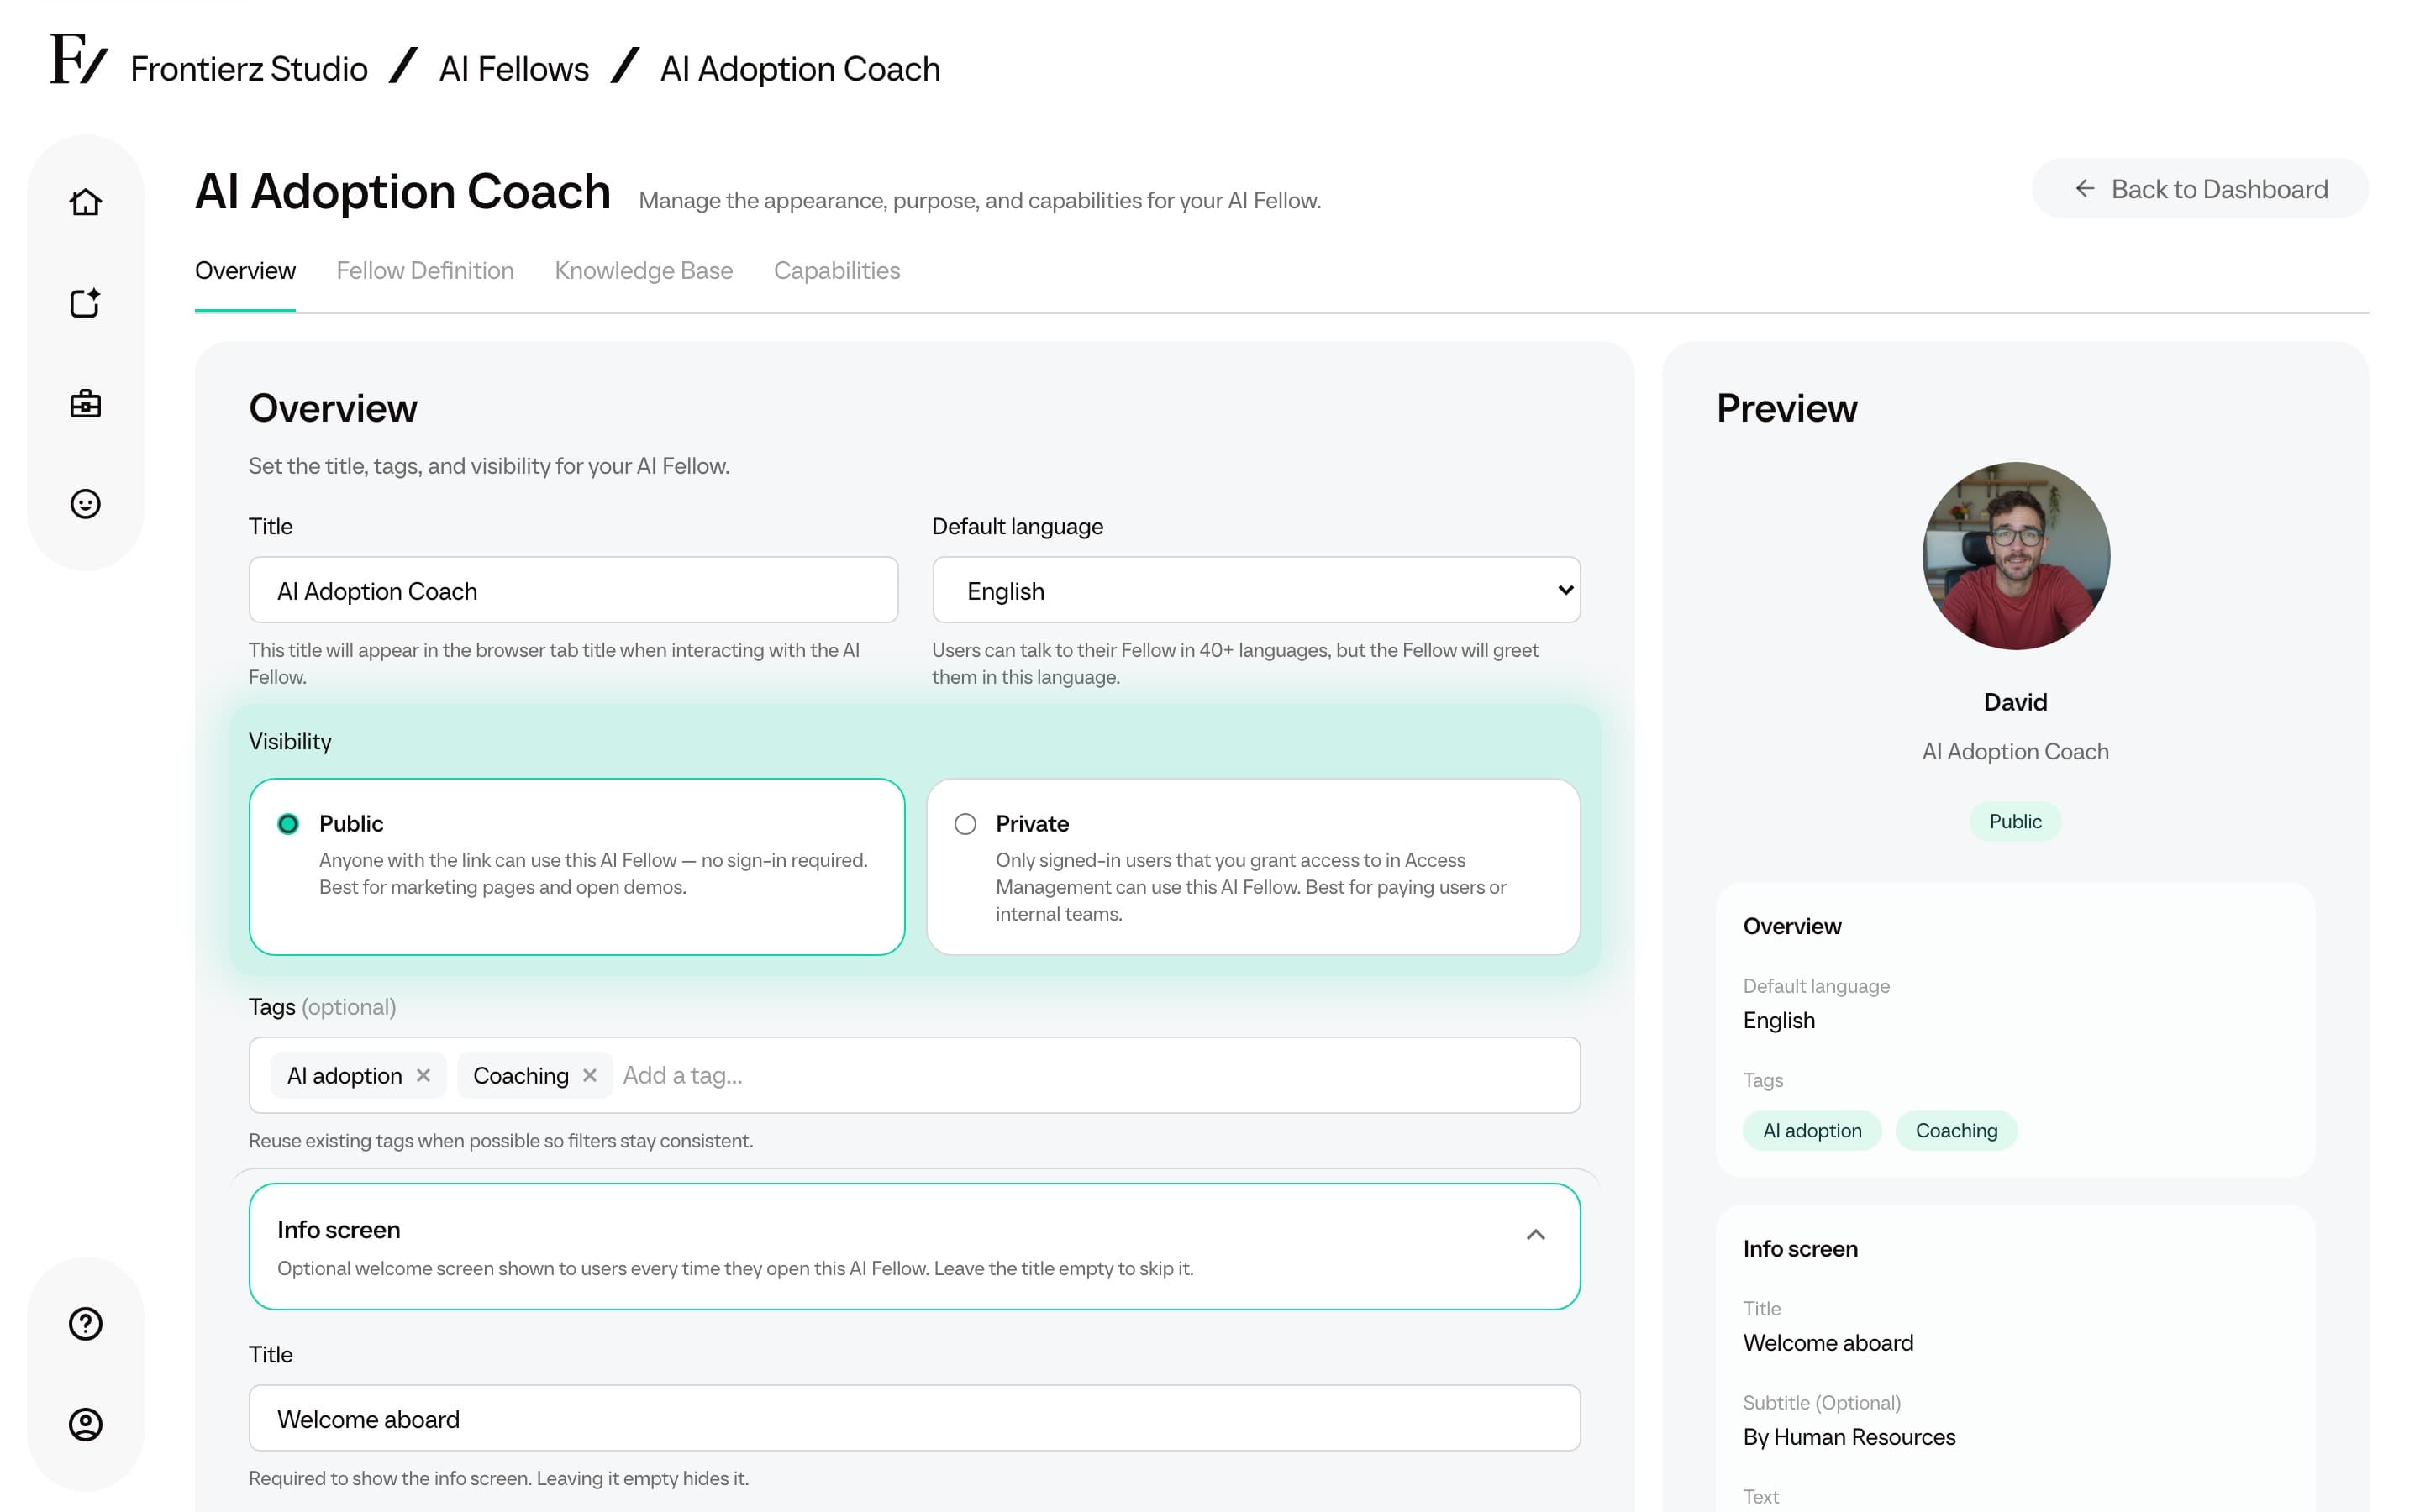
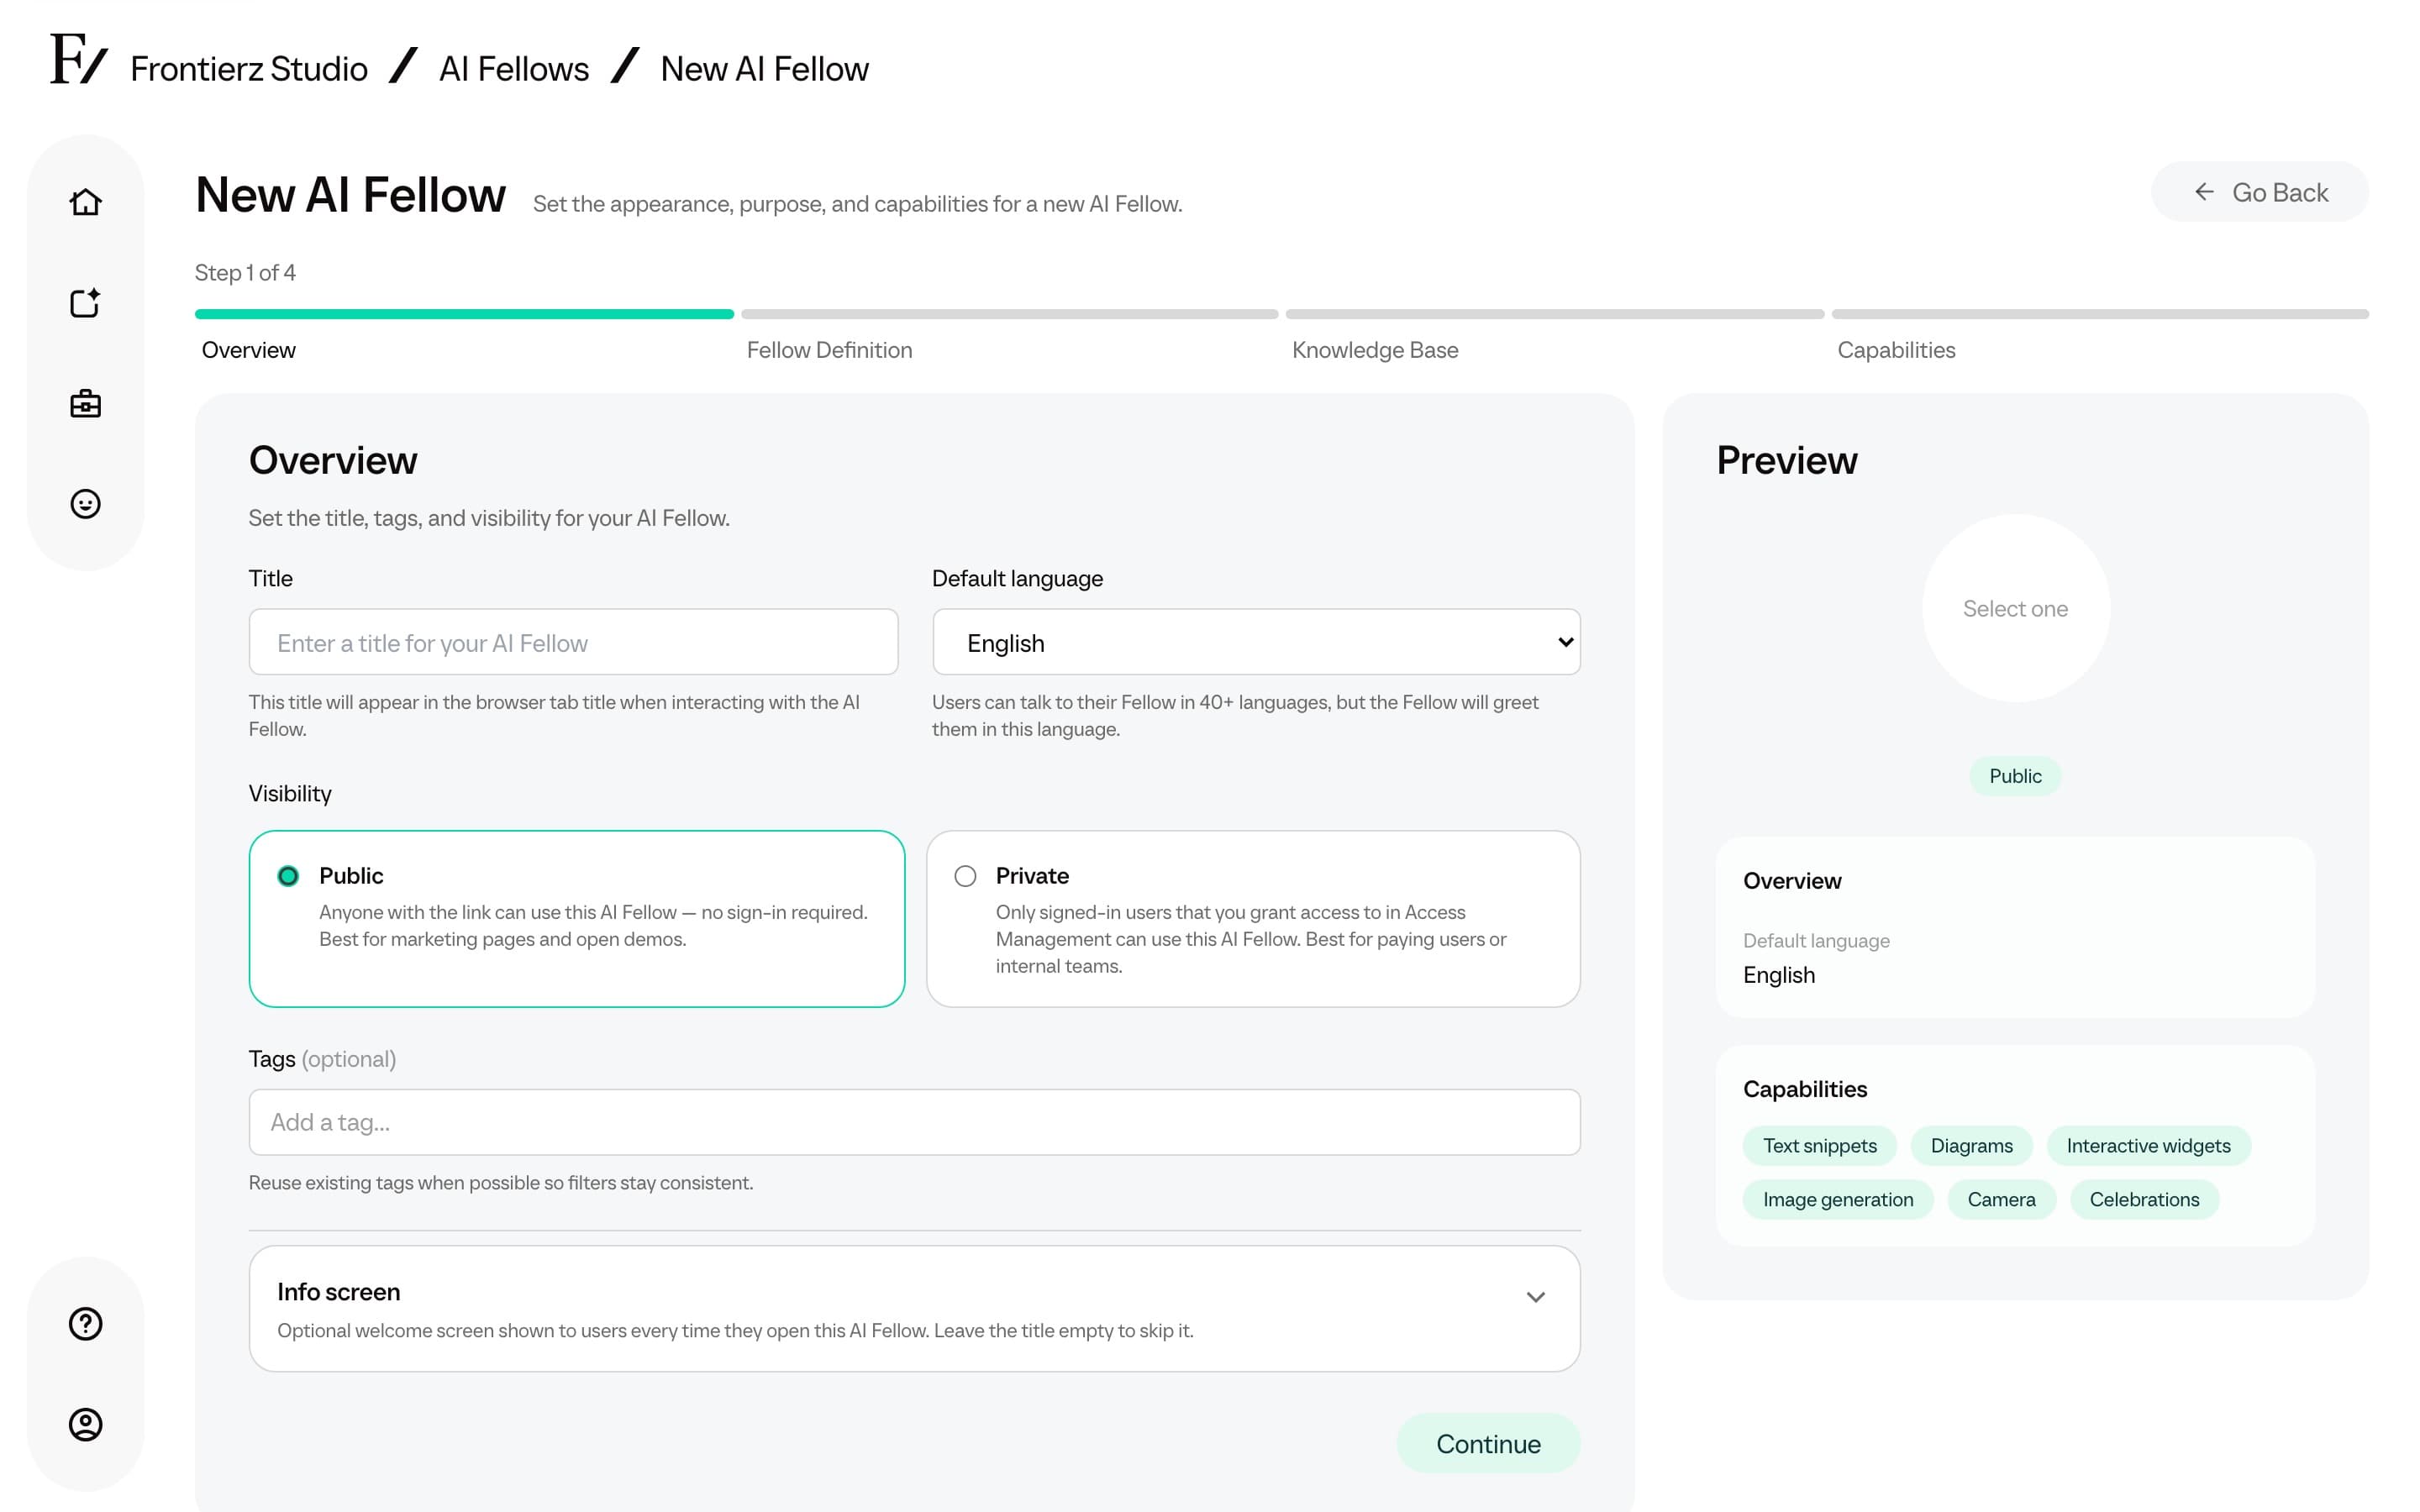
Overview. Set the AI Fellow's title, default language, and visibility (Public or Private). This step also includes:
- Tags (optional). Add up to 20 shared labels so the AI Fellows list can be filtered later. Prefer reusing existing tags.
- Info screen. Optional welcome modal shown whenever the user opens the AI Fellow. See Info screen.
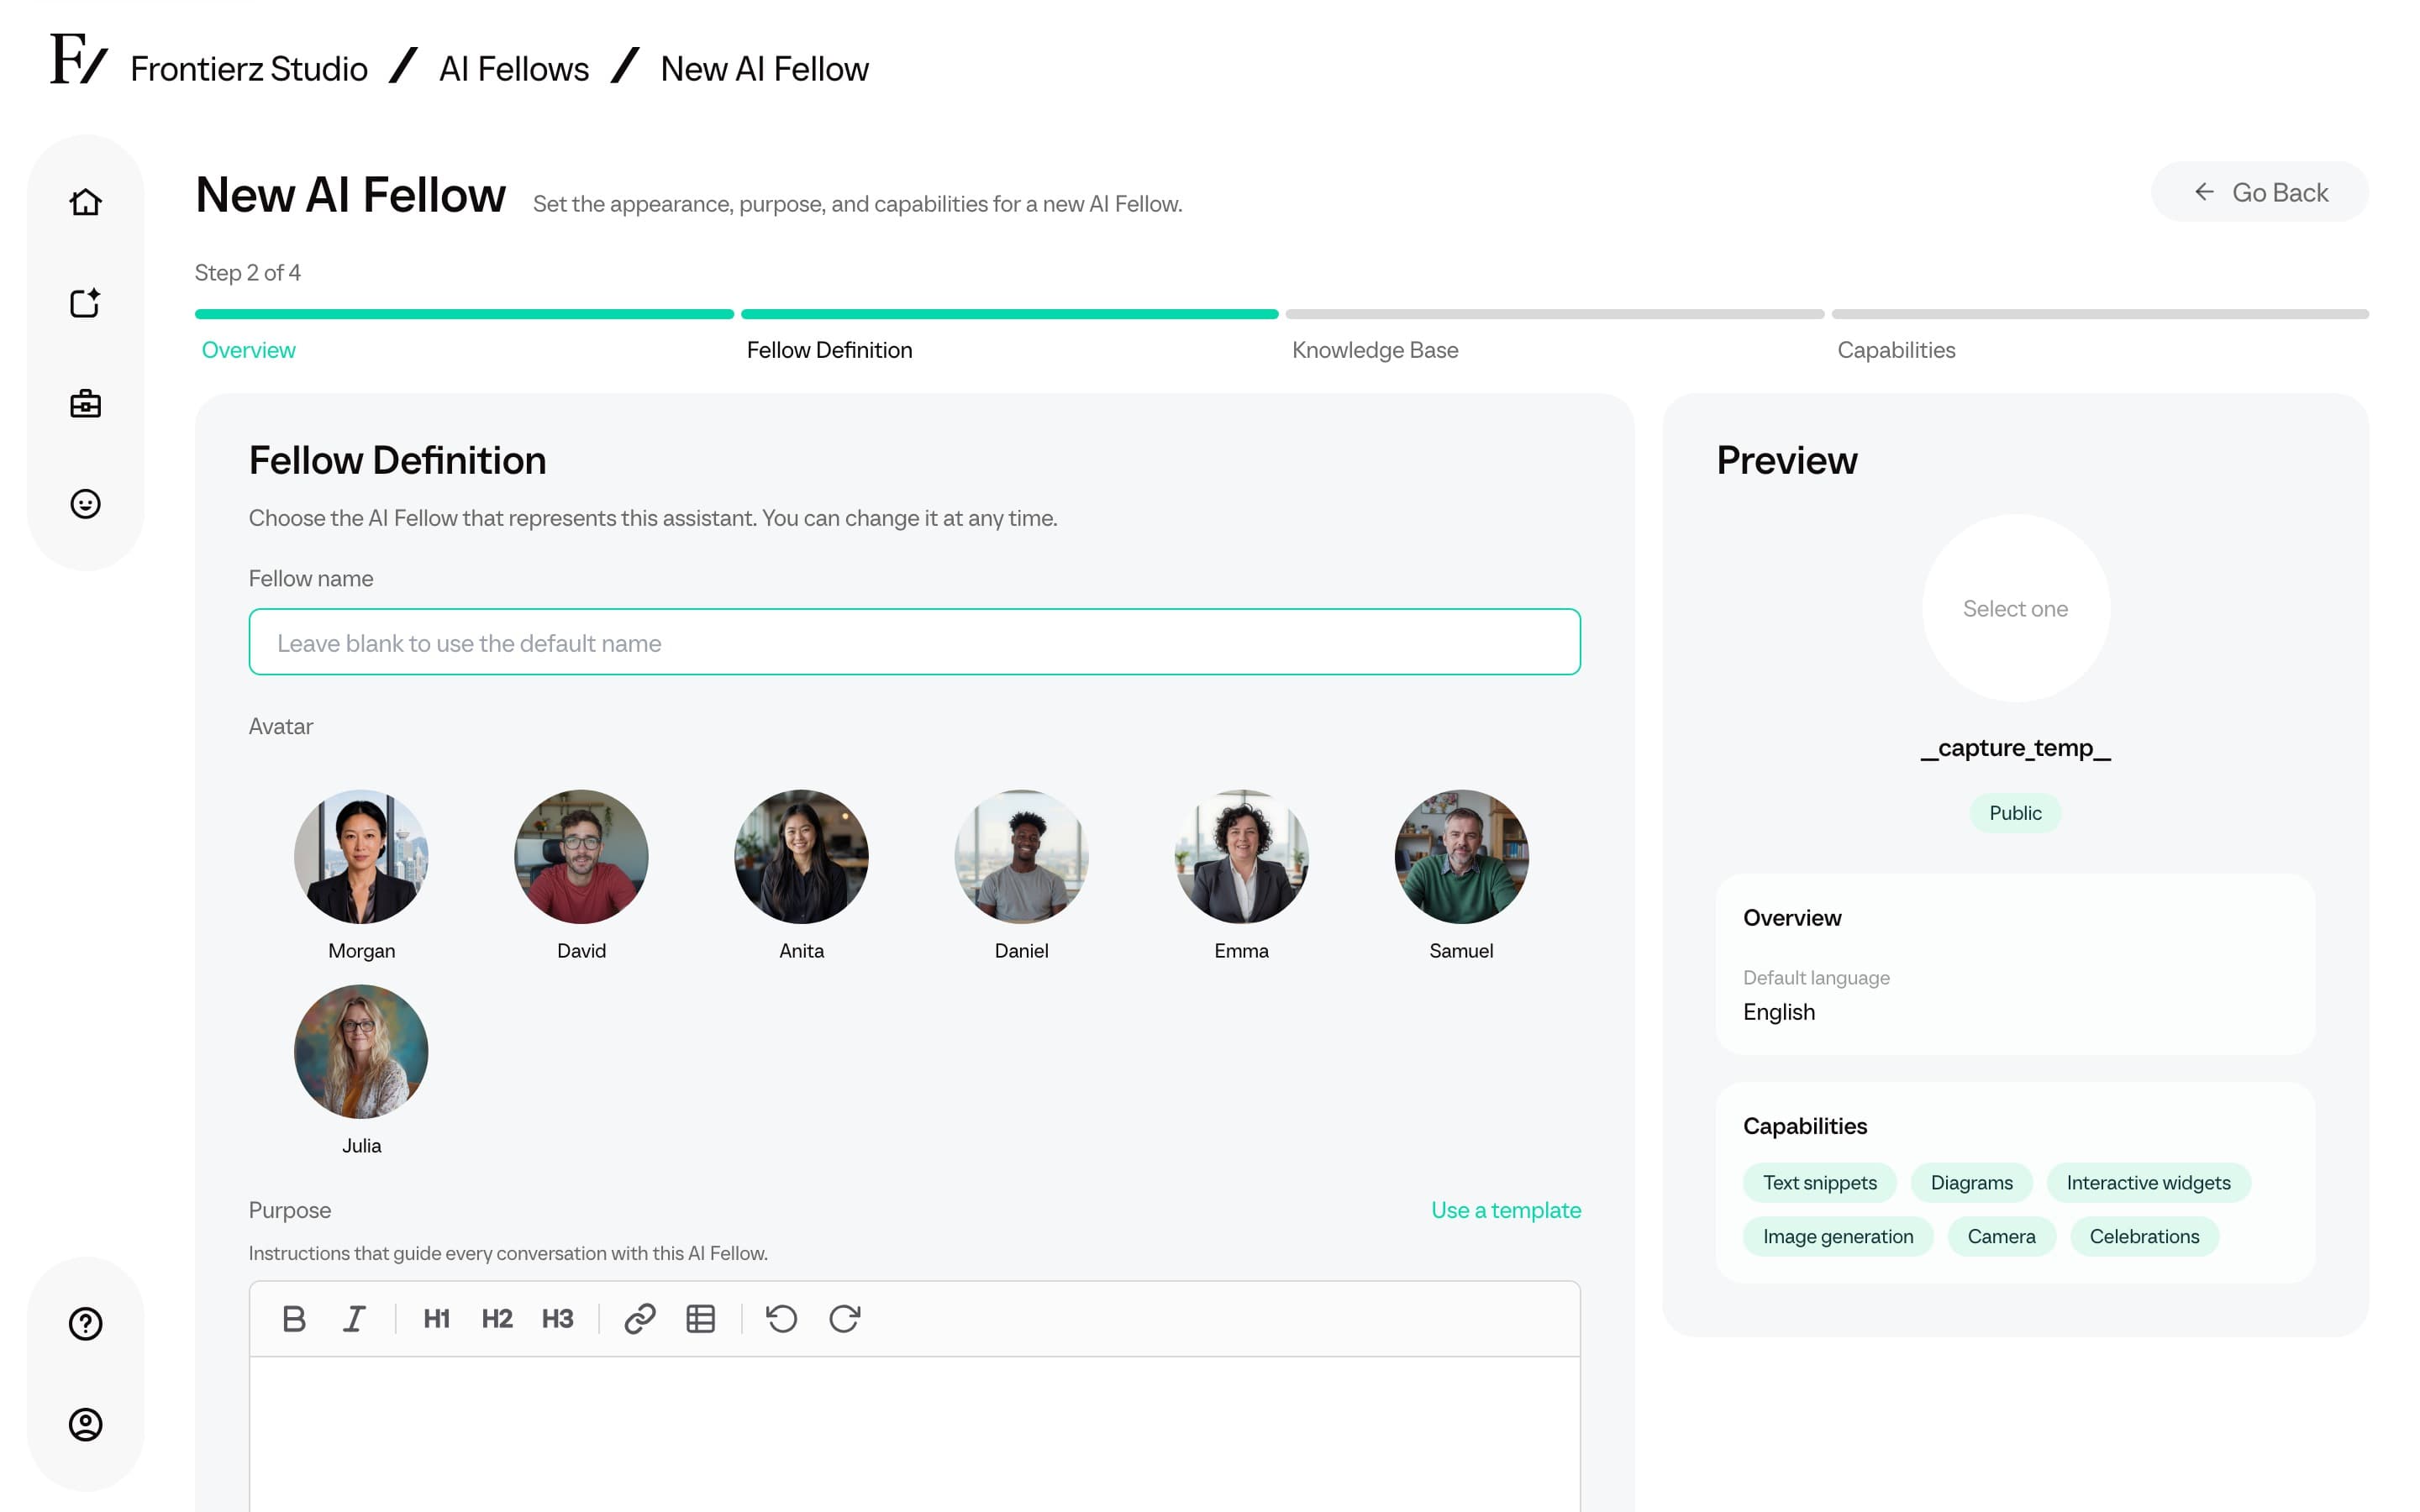
Fellow Definition. Optional Fellow name is the label users see above the avatar. Leave it blank to use the selected appearance name. Pick the face from the identity gallery. This choice sets the visual appearance and voice, and can be changed later.
Write the Purpose: the instructions that determine how the AI Fellow behaves. See Define the purpose. Use a template above the editor opens a modal with built-in purpose templates (Training Coach, Onboarding Assistant, Technical Support, and others), or start from scratch. Choosing a template replaces the Purpose text. The first time you continue from this step, Studio saves the AI Fellow.
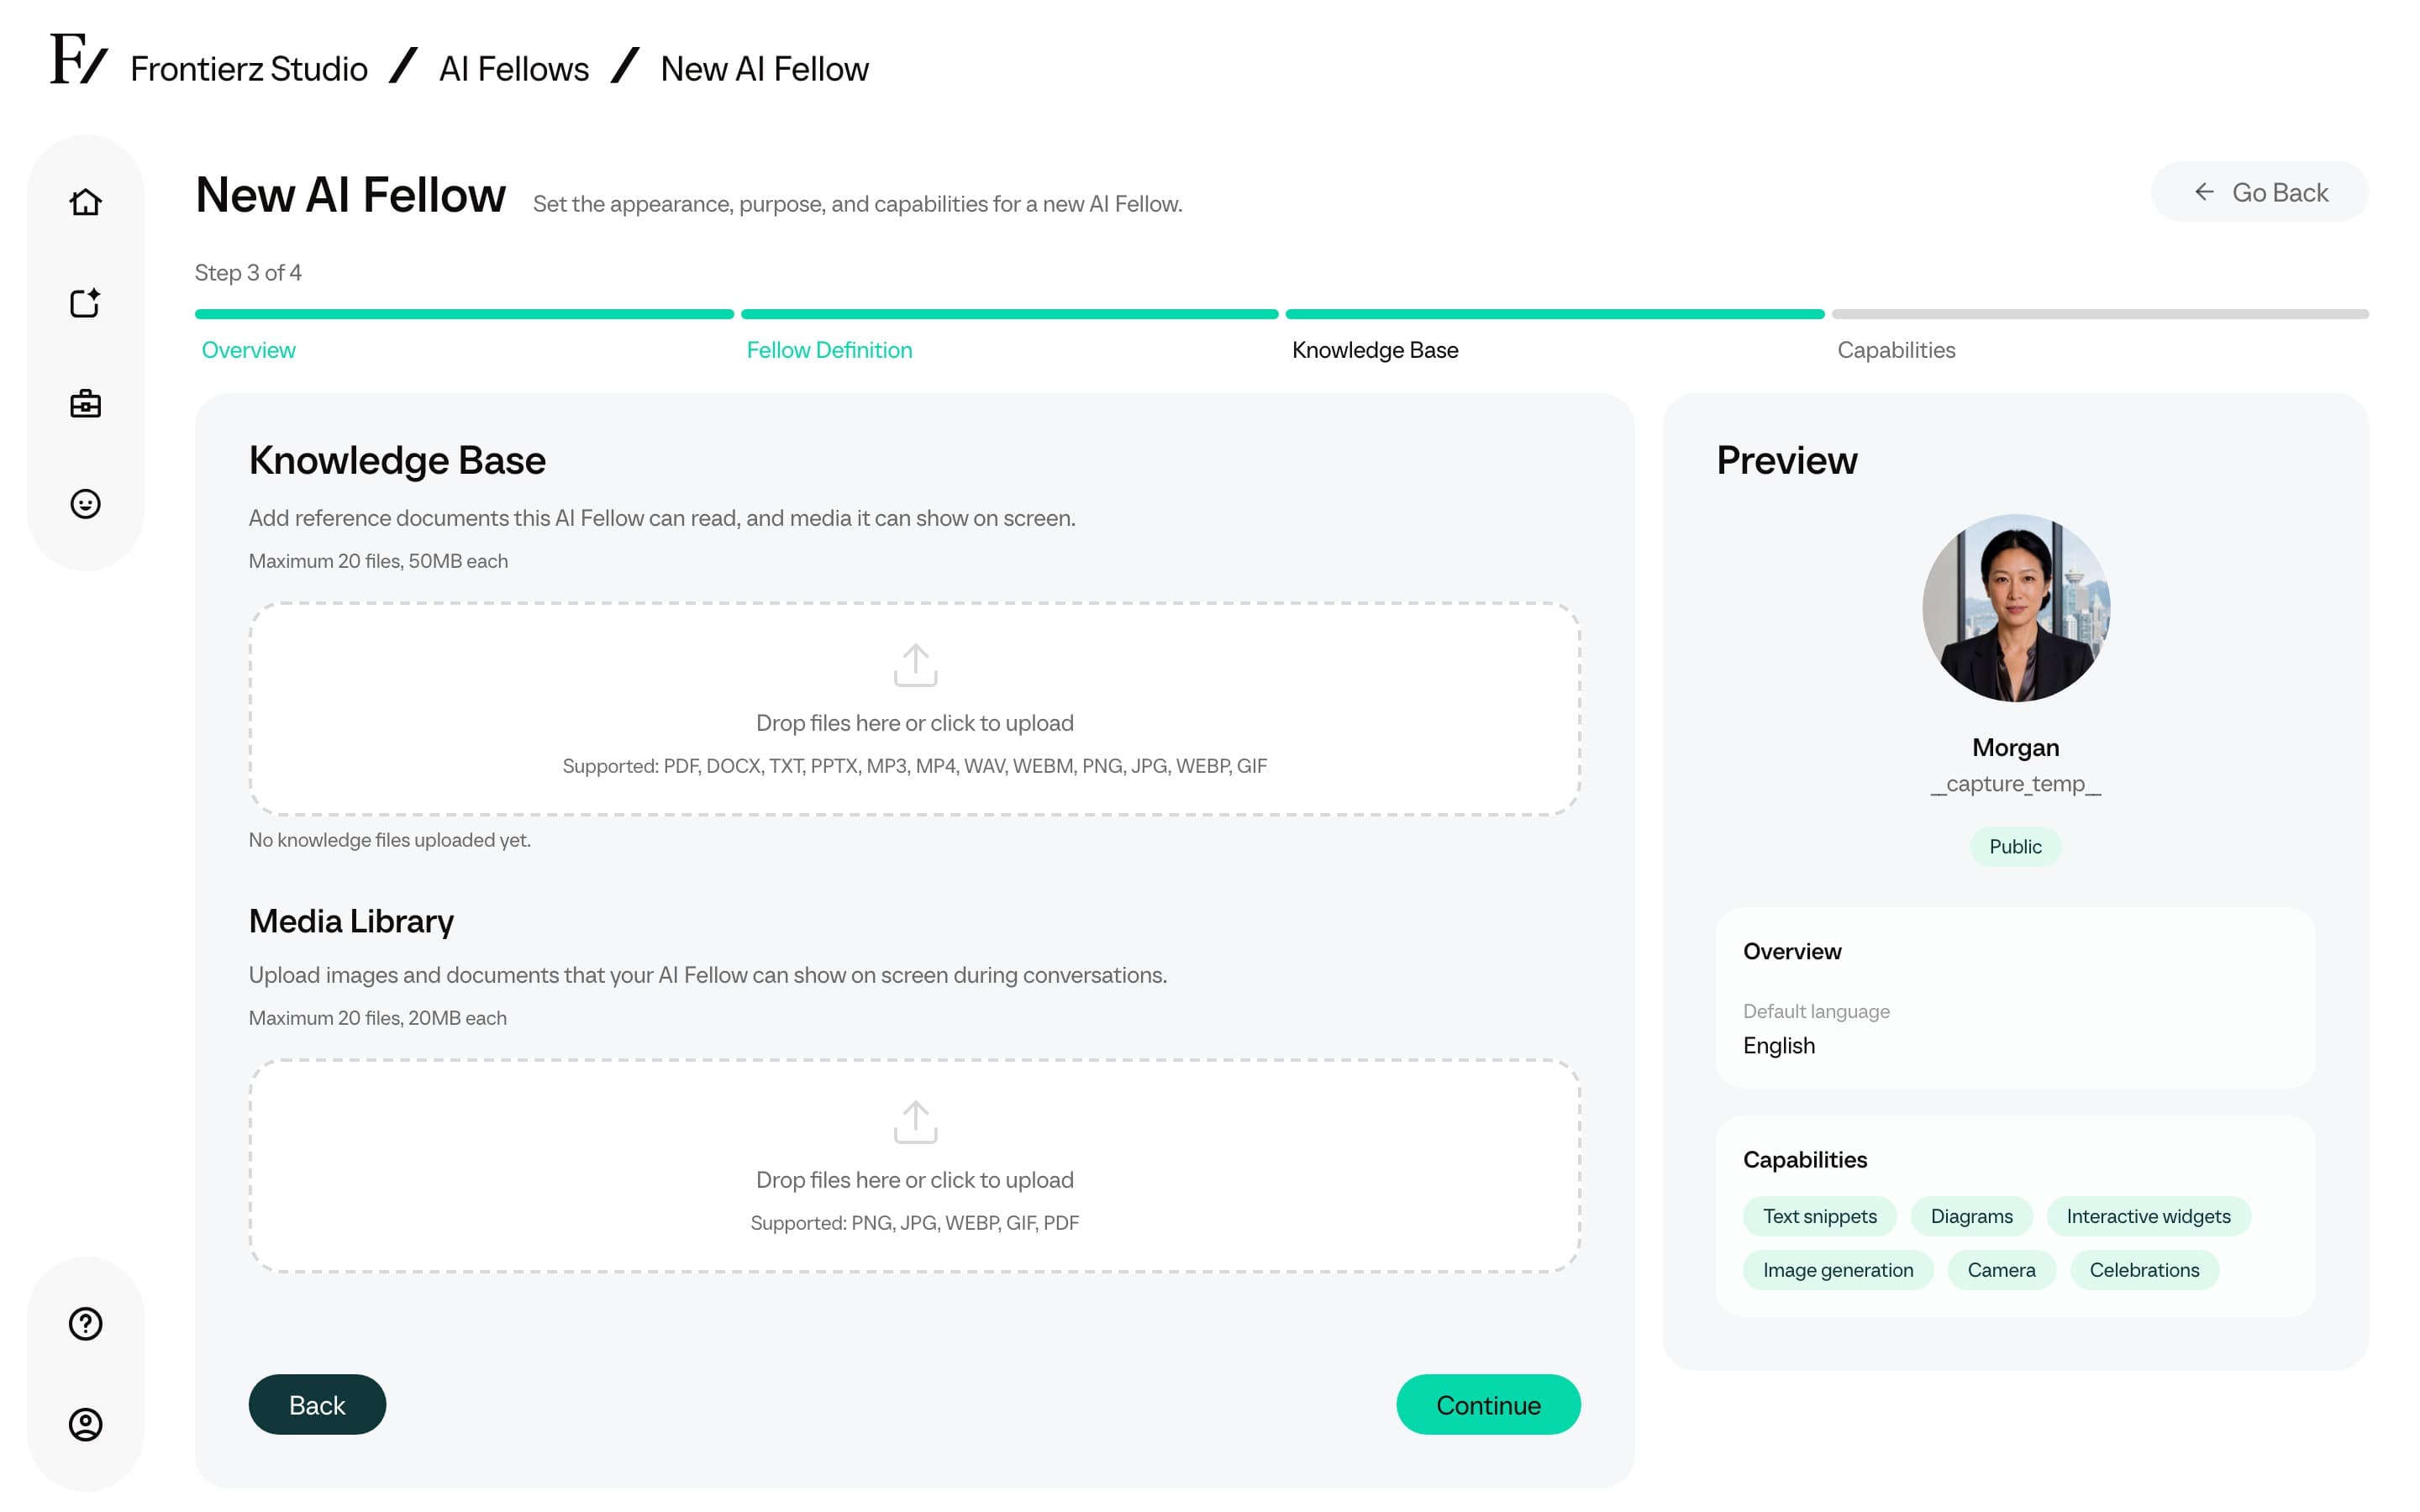
Knowledge Base. Up to 20 reference documents that the AI Fellow uses as reference material, plus Media Library files it can show on screen. See Knowledge Base.
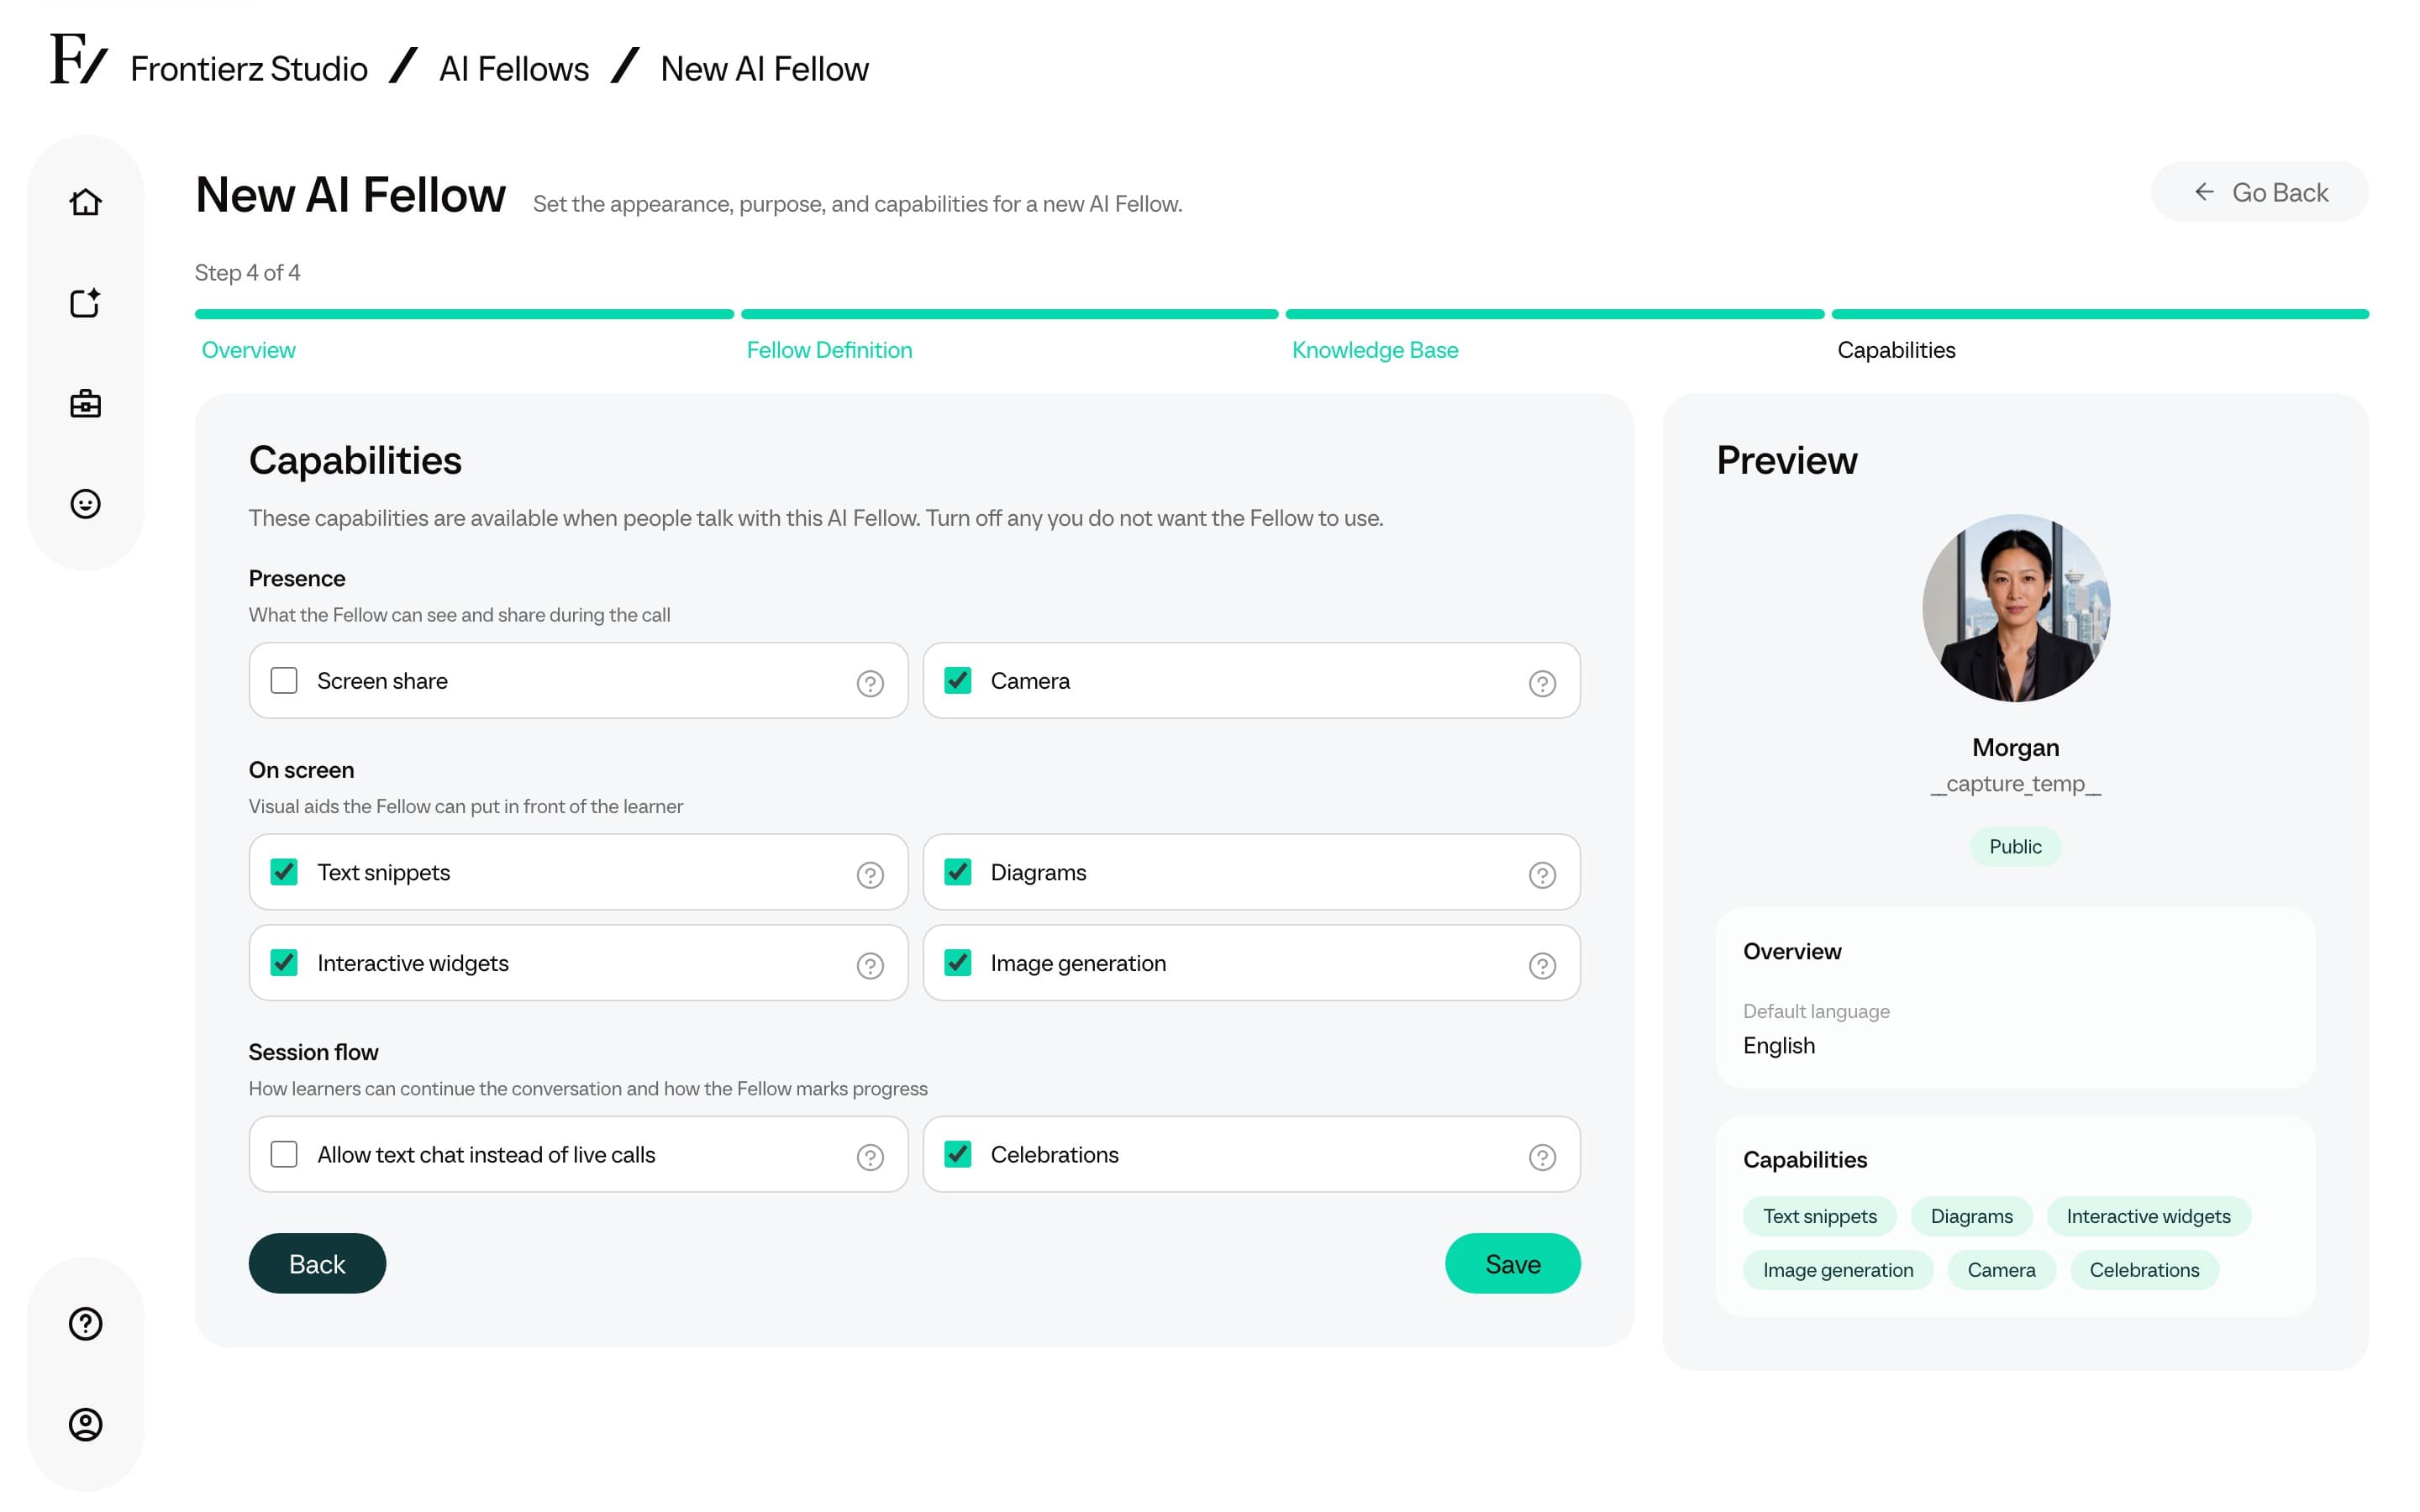
Capabilities. Turn on the built-in capabilities this AI Fellow needs, grouped as Presence, On screen, and Session flow. Use the ? tip next to a capability label when you need a short explanation. Allow text chat lets users type instead of speaking. See Text chat mode. Full Admins can also attach Custom Connectors from the company library on the same step. See Connectors.
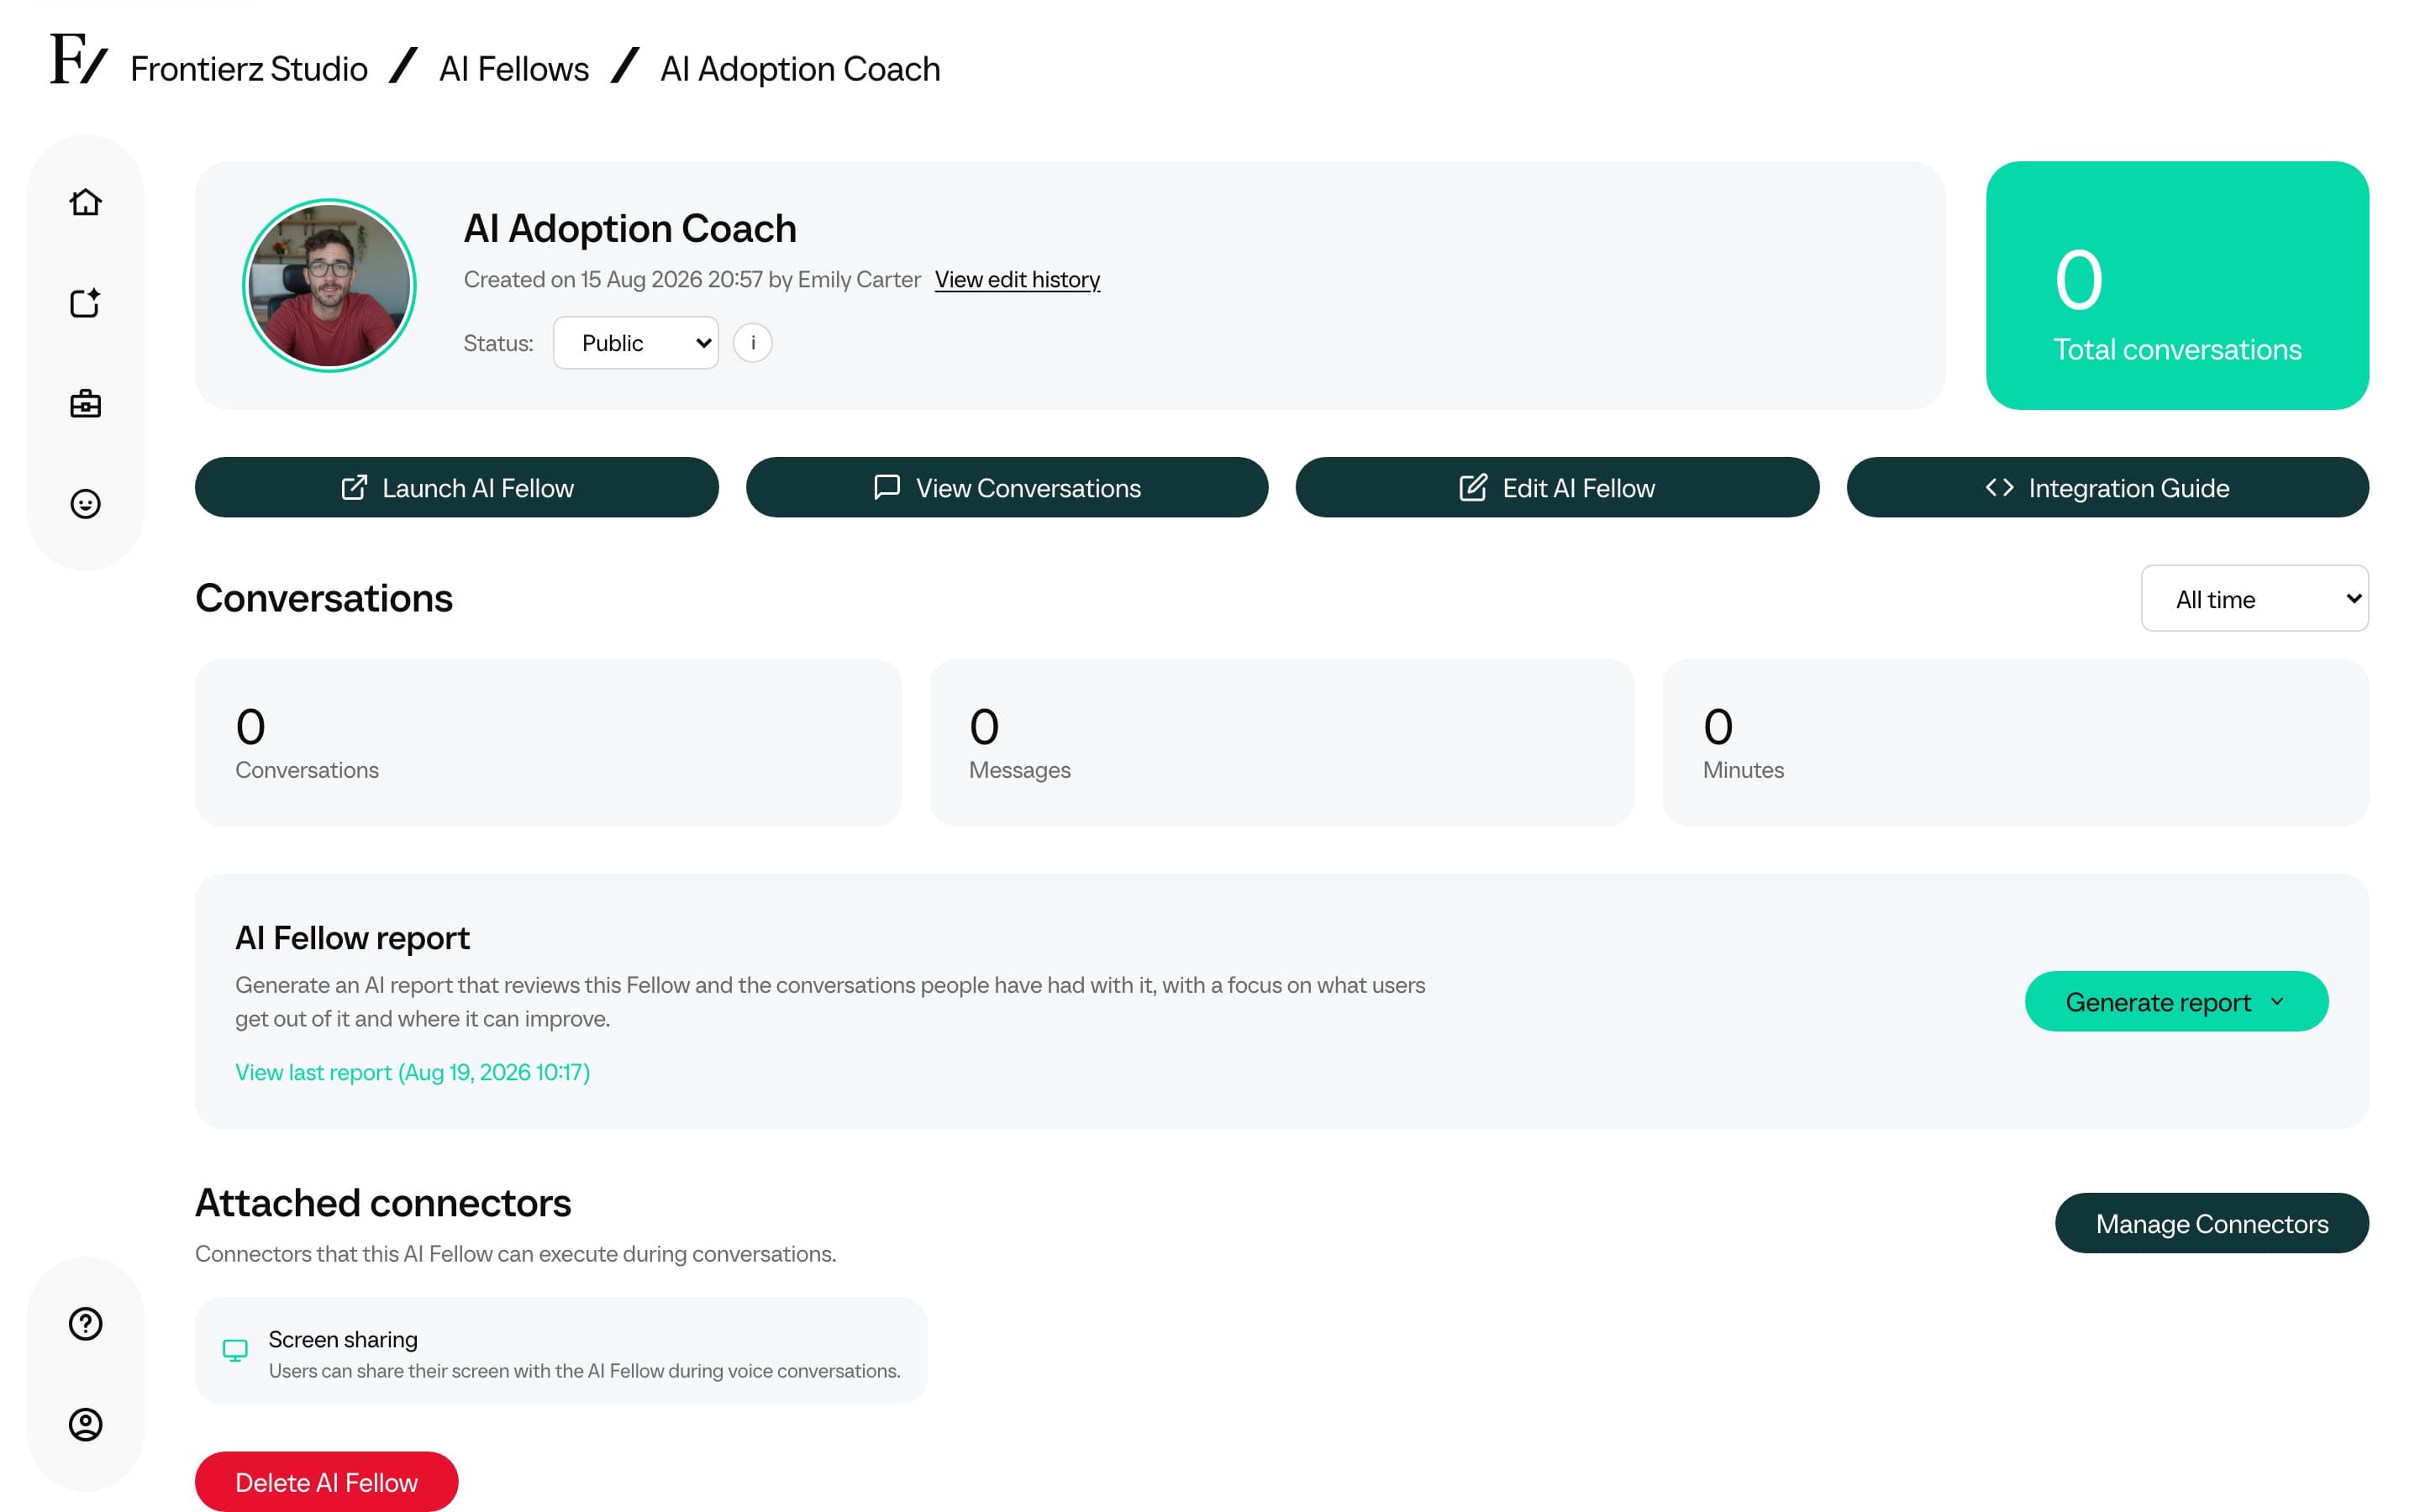
After confirming the expected behavior in a test conversation, review the AI Fellow's visibility and select a deployment method: standalone link, embedded widget, or preview link. See Deployment options.
Create and edit use the same fields, order, and Preview column. Create uses the step bar and Continue (last step Save). The Preview column appears after Overview. Edit uses underline tabs and Save Changes. Click a field in Preview on edit to jump to that section and highlight it. Overview keeps Title next to Default language, then visibility, tags, and Info screen. Fellow Definition has Fellow name, the avatar grid, and Purpose, with Use a template above the editor.